Faster Way to Upload Iphone Photos Into Folders
If yous're like us, that camera roll of yours is annihilation merely organized. And while our phones concur a digital record of our days, we're sure of 1 affair: information technology'southward time to make space for what's to come. Follow forth for simplified tips to clean up your camera curlicue — you lot're 10 steps away from an organized photo life.
Tip 01
Select Favorites
Allow's start with identifying the photos that mean the most to you. Set aside fourth dimension to press the centre on the bottom of the photos that are almost pregnant. This volition automatically filter them into your "favorites binder." Pro tip: be decisive. Merely relieve the phots that y'all know yous will want to return to. Brand sure you have 1-2 photos of each major event for recording's sake, but don't get tied up about each individual prototype.
Tip 02
Comprehend the Delete Button
Ready yourself upwardly for success and make the delete button a practiced friend. Trust united states — decluttering tin merely be achieved by getting rid of the images that are duplicates, blurry, or unnecessary screenshots. If you didn't put a heart on the image originally, consider why y'all are keeping information technology around. Clean out whatsoever photos that don't capture your attending or epitomize a moment. Brusk on time? Press the "select button" in the upper right corner to drag over multiple images to delete at once.
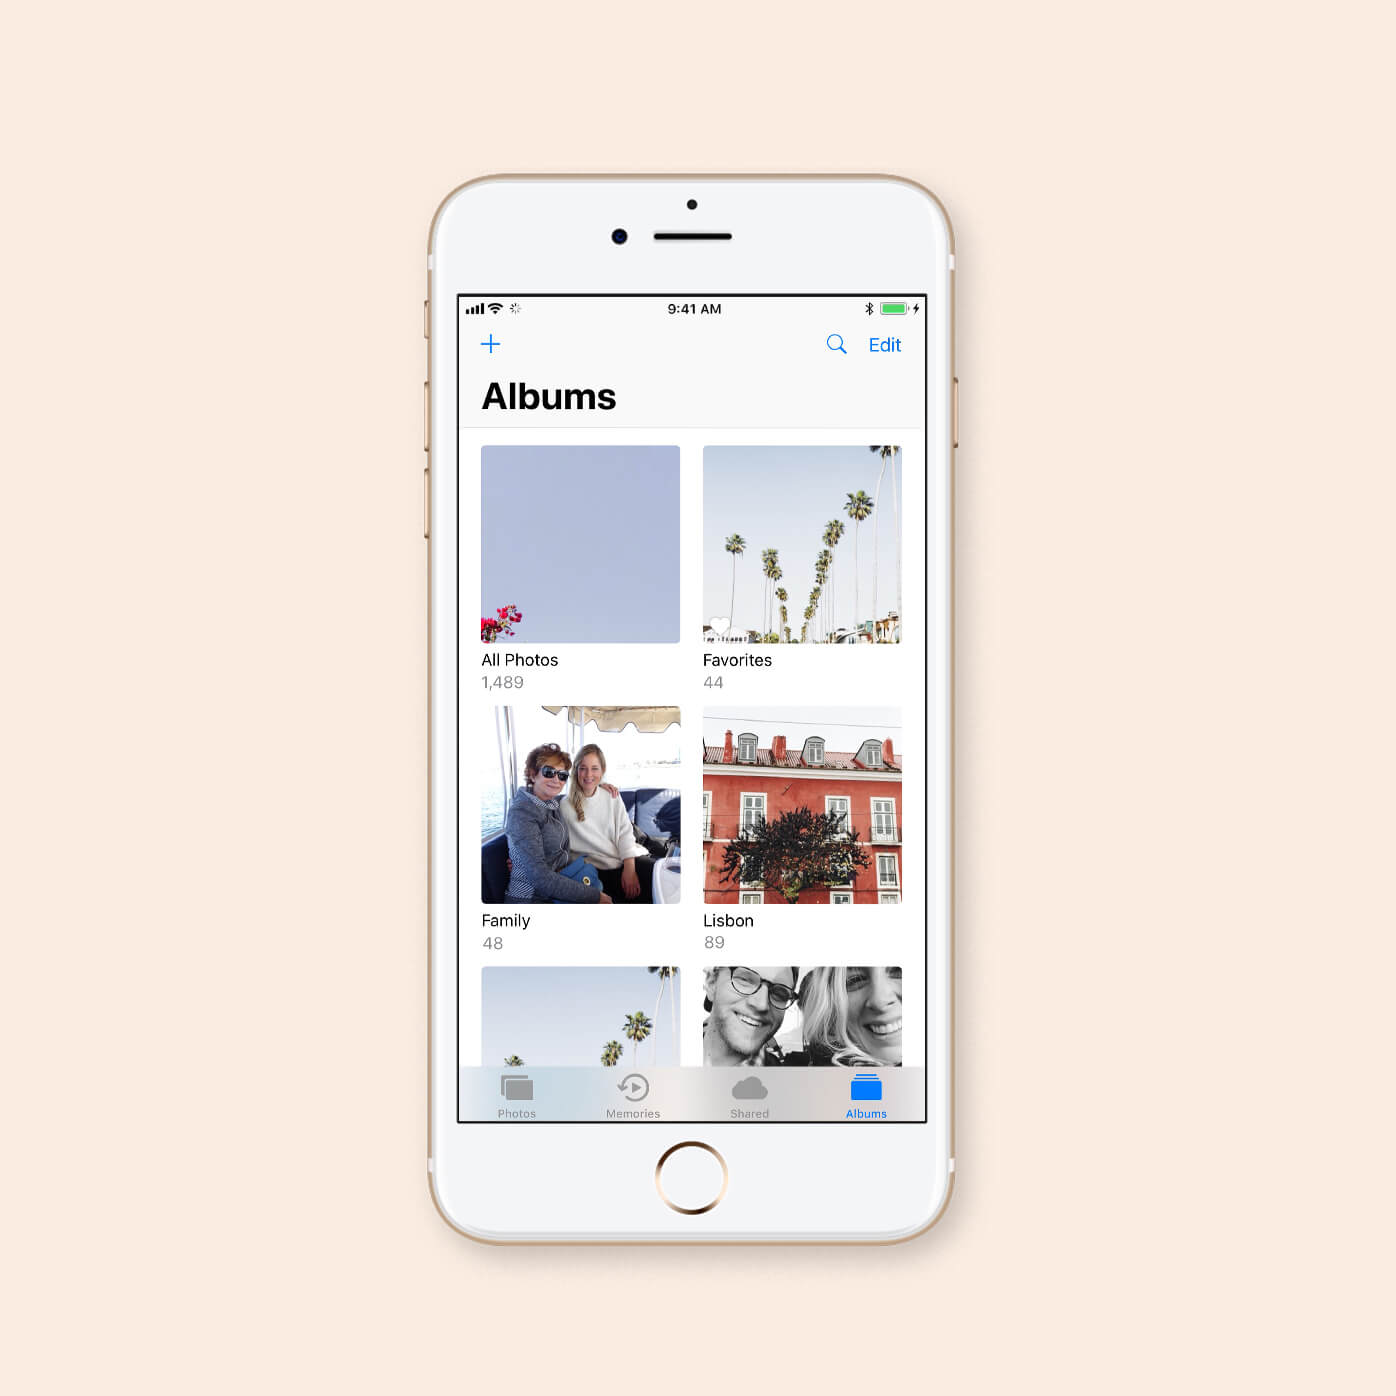
Tip 03
Create Albums
Once you've simplified your camera roll, create a serial of albums under the "My Albums" department to categorize your photos. Some of our favorite ways to organize? By months, people, or events. Take a mental inventory of the photos you gravitate towards taking, so create your albums based on what makes sense from that.
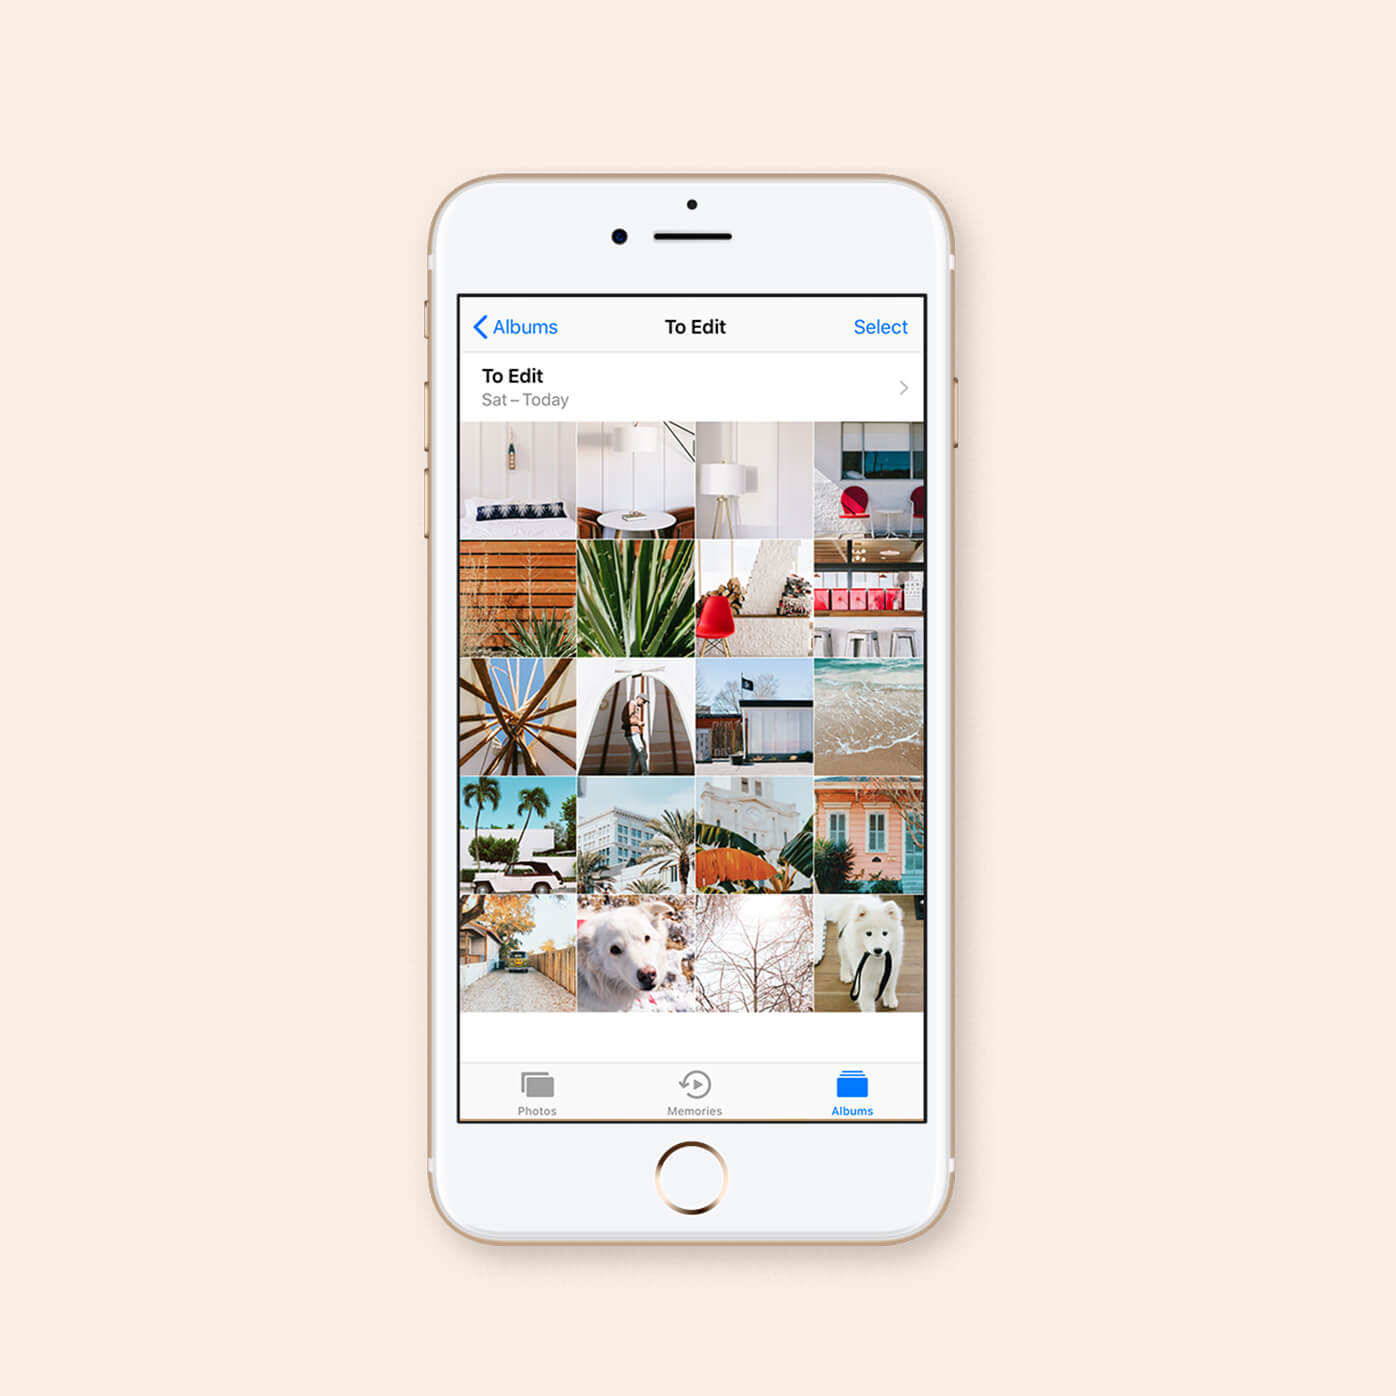
Tip 04
Make An Edit
If you find yourself ever scanning your photo library to select the photos you desire to edit and share, nosotros recommend creating "To Edit" and "Edited" folders in your albums. Brand your way into your "Favorites" folder to select the photos that yous want to edit. Select and copy them into the "To Edit" folder so that you accept a centralized spot for all of the photos that need to be edited. Pro tip: select all of the photos at once from your favorites binder by striking "select all" — transfer them into the folder in bulk. One time you edit a photo, brand certain yous add together information technology to your "Edited" folder.
Tip 05
Ready Priorities
Organize your albums in terms of priority so that yous encounter the most important ones first. (We tend to put the "To Edit," "Edited," and the current month first.) To rearrange their order, head to your albums and whorl downward to "My Albums." Press "edit" in the upper right manus corner and hold down the anthology to drag it to where y'all want.
Tip 06
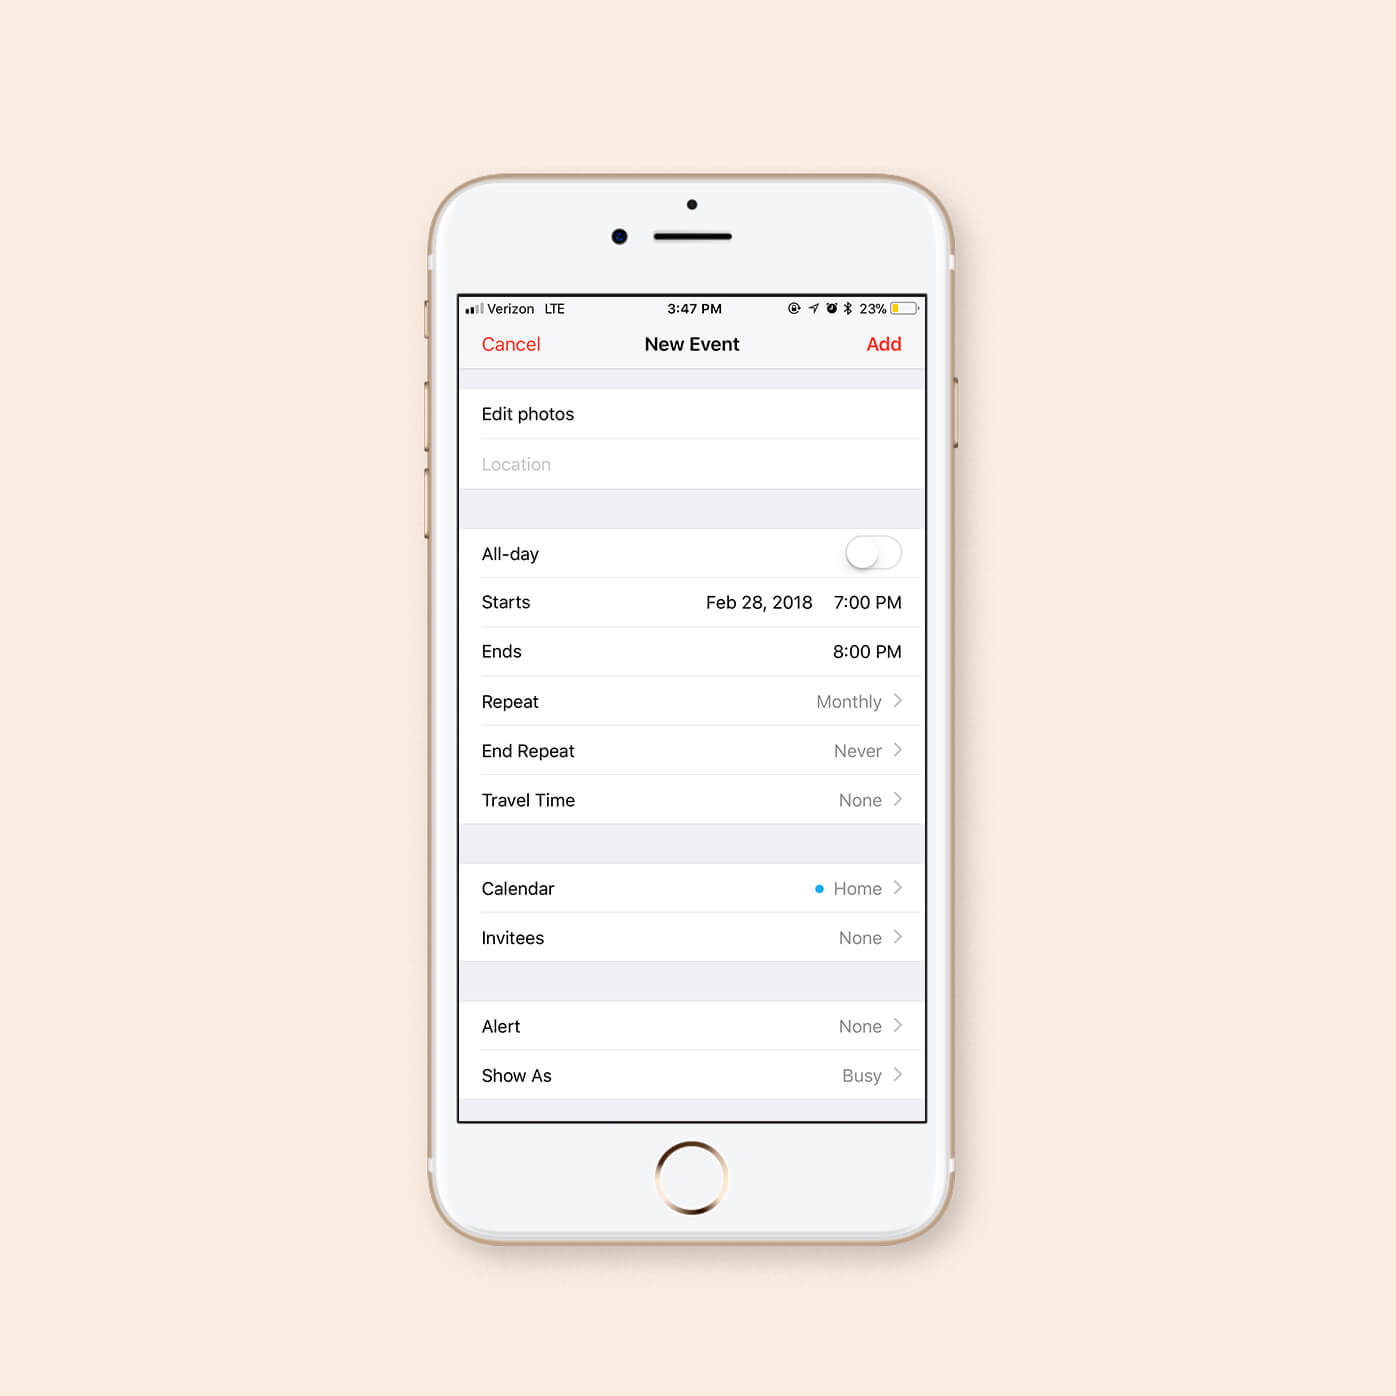
Prepare A Routine
To make your organized photo life into a habit, prepare a recurring event on your agenda to remind yourself to pay a bit of attention to the procedure. Need a little inspiration to start? Here'due south how we do information technology —
- Weekly: Delete photos that don't make your heart skip an extra crush; favorite the ones that do
- Monthly: Categorize photos from the previous calendar month into their corresponding albums, and then make sure to back them up into Google Photos
- Yearly: Apply your organized albums every bit a compass to create gifts or yearly photo projects
Tip 07
Back It Up
Lo and behold, the most crucial (and missed) pace. We've constitute Google Photos to be the simplest, most constructive way to back up your photos. Download their app to become started. We recommend "backing up" your library once you've gone through and deleted photos so that it resembles an organized camera roll. If you fix the backup flow to transmission, you tin can control when the app backups the photos. (Pro tip: create a recurring effect on your calendar to delete, categorize, and back up your photos every month). This leads us to...
Tip 08
Search and Select
If yous observe yourself overwhelmed with the sheer quantity of photos, use the "search" and "select" buttons to add together specific photos into their respective albums, in bulk! Head to the "photos" tab on your albums, blazon in what you're looking to organize into the search icon (like names of cities, dates, etc.) and information technology will pull any matching pictures. Hit the "select" button and hold and drag down on the photos to select them all at in one case. Then, add them into their respective album.
Tip 09
Find Faces
Speaking of people, there's no better way to easily find your favorite faces than by using the "people" album in your photographic camera roll. The album will automatically detect faces and group them together so that all you have to do is become in and approve the set of photos it has categorized. Gone are the days of searching through the entirety of your photos for that one specific photo of that one specific person.
Tip 10
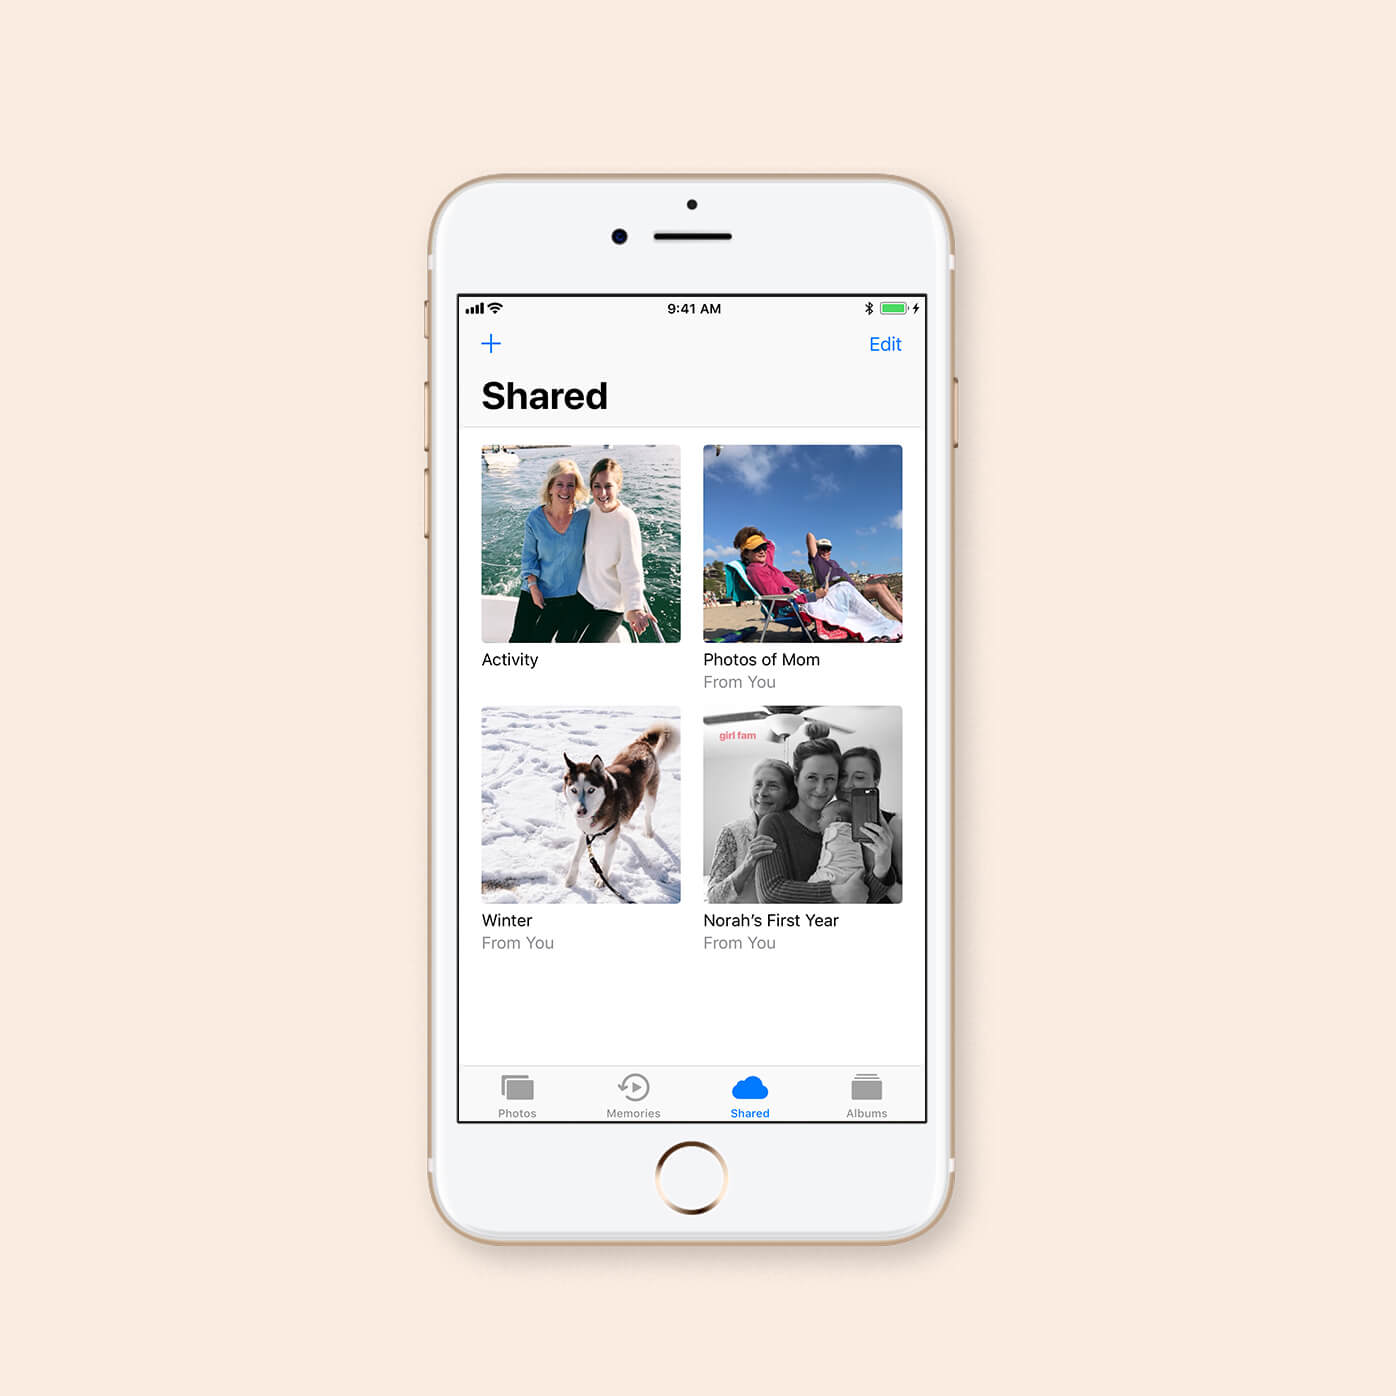
Better When Shared
Another easy style to get together photos in an organized way is by utilizing shared albums. These albums are "shared" with your friends and family unit (think: a folder to which everyone can contribute photos.) Go through this album and add the photos that you want to keep on your phone by selecting them and pressing "save epitome."
Source: https://www.artifactuprising.com/photography-tips/iphone-organization-ideas
0 Response to "Faster Way to Upload Iphone Photos Into Folders"
Post a Comment